|
|
Charcoalized Photo
For Version 4
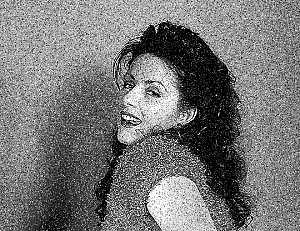
Finished image
This is one of those effects that takes some experimentation
to achieve the desired result. The amount of "noise" that's
added and adjustments in "Highlight, Midtone and Shadows"
will depend on the original image and your taste.
- Open the image that you wish to apply this effect .
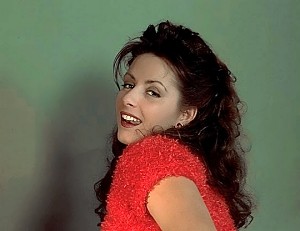 Original
Image
Original
Image
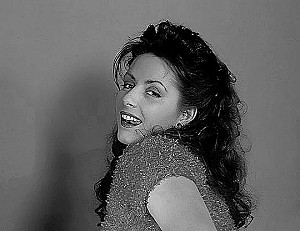
- Apply the "greyscale" color function
to the image .

Greyscale applied to image
- Apply the
filter .
Note: This is one of those steps that can vary,
you may want to "edge enhance more", apply "edge enhance
several times, etc., you will just have to experiment around.
Edge Enhance filter applied once
- Apply the
filter .
For this specific image I used "random noise" with a value
of 30. Note: The amount of noise that's added
will vary depending on the original image. Experiment around for the
best effect.
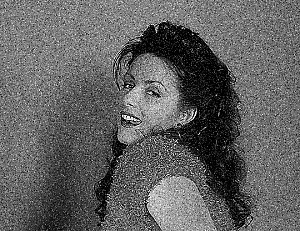
Add Noise filter applied (noise value @ 30)
- I guess you can say that this last step is optional.
I adjusted the luminance
of the image because I felt the image was a little too dark. Basically,
I decreased "Highlight" to lighten up some areas, decreased
"Midtones" and increased "Shadows" to balance
out the dark areas.
Adjusted luminance to obtain the desired effect
|
|
|