|
|
Edge Work #1
For Version 5

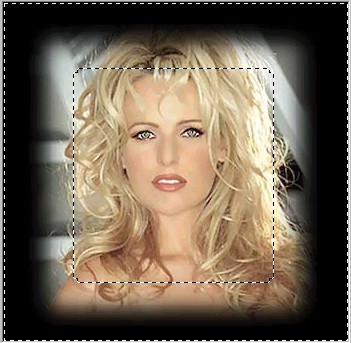
Finished image
This is actually a port from a version 3 tutorial I did
many moons ago. This effect could be done the same way as the original
tutorial, however, I changed it a bit to take advantage of the features
provided by version 5.
Edge effects are really handy and can dress up an image
so that you aren't stuck with a hard rectangular shape. This tutorial
will show you how to soften the edges by giving it a faded or blending
effect that transitions from image to background.
- Open the image that you wish to apply this effect . Note: Since you will be working
with layers, either use an image that has a color depth of 24 bit
or increase the color depth to 24 bit .

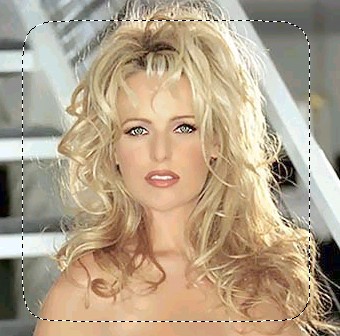
Original
Image
- Duplicate the background layer .
Or, you can use the layer palette to duplicate the layer.
- Select the background layer ,
make sure you click on the image before using
the shortcut key and use the numeric keys on your main keyboard -
meaning don't use the numeric keypad for number selections.
Select the entire background
and then press the "delete" key to get rid of the original
background. Note: Make sure the background
palette is set to the background you wish to use.
- Deselect the selection
and then select the other layer .
- Select the selection tool . In the tool palette select ,
set selection type to
and set the feather value to something greater than 0. Note:
In this particular example I set the feather value to 20. Now
just create your selection.
Selection created with selection tool
- Create a mask using the selection . Now
the selection .
Mask created and selection inverted
- Press the
key to get rid of a portion of the image. Deselect the selection
. Now just delete the
mask , choose
when asked to merge the mask into the current layer. If you wish,
you may flatten the layers , otherwise your done with this tutorial.
Image after performing step 7 (final step)
|
|
|